
Set up your company
Reviewed against source:
Settings is where your company's identity lives — the name and address that show up on invoices, the hours that shape the dispatch board, and the logo and color on everything you send a customer. Get this right once, early, and every quote, invoice, and reminder Thermal sends looks like it came from you, not a generic template.
This guide covers Settings → This company → Company profile. Invoicing defaults (tax, payment terms, document numbering, Price Book tiers) live on Settings → This company → Invoicing and are covered in Set your pricing and business rules. Notification toggles live on Settings → Documents and notices → Notifications. Outbound webhooks live on Settings → Data and connections → Integrations, on the API & webhooks tile.
Company profile
Open Settings and choose Company profile. That's where you land.
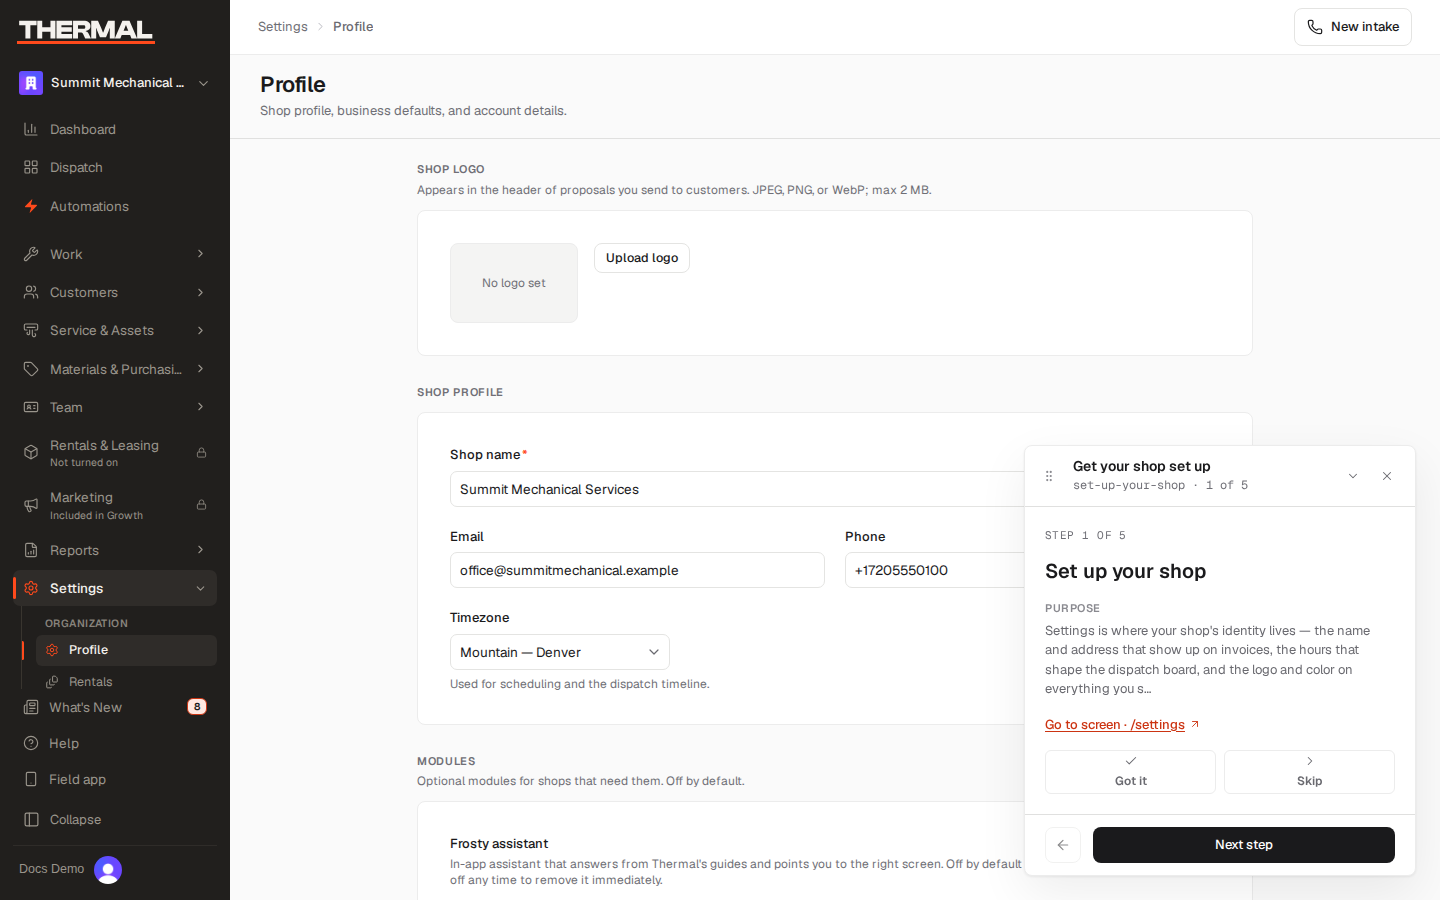
- Company name — required. This is the name customers see on invoices, quotes, and portal pages.
- Email / Phone — your company's contact info, shown alongside the company name on documents you send out.
- Timezone — drives the dispatch board's timeline and every scheduled time shown in the app. Set this once, correctly, before you start scheduling — changing it later shifts how existing appointments display.
Company logo
The Company logo section on this same page replaces the default Thermal wordmark on quotes you send. Choose Upload logo and pick a JPEG, PNG, or WebP under 2 MB. Once one's set, the button becomes Replace logo, and a Remove logo option appears — removing it reverts to the Thermal wordmark.
Modules
Optional modules are managed outside Company profile. For example:
- Rentals & Leasing — fleet, leases, contractor rentals, and reservations. Leave this off unless your company rents or leases equipment; configure it in the Settings → Rentals area. See Settings → Capabilities for every module.
The Assistant isn't a Company-profile module. It's a help-surface toggle on Settings → Support, under Help options — flip Enable the Assistant there to turn Thermal's in-app helper on or off for your team. It starts on for a new company; turning it off removes it immediately.
Business address
Shows on every invoice and quote you send. Fill in Street address,
Suite / unit (optional), City, State / region, ZIP / postal,
and Country (2-letter code, e.g. US).
Business hours
Opens and Closes set the working-day window shown on the dispatch board — the hours dispatchers see when they're laying out today's schedule. This isn't a hard constraint on when work can happen; it's what the board displays as the normal day.
Scheduling defaults
Org-wide fallbacks used by any branch that hasn't set its own override (Settings → Branches → Defaults — see Set up branches):
- Default job duration — minutes on site (15–480). Leave blank to use the per-job-type system default.
- When assigning a tech with no scheduled time — either use the agreement's scheduled date (the recommended default) or book a window starting now.
Brand color
The accent color used on invoices, quotes, and customer emails. Pick a
color with the swatch or type a 6-digit hex value directly (e.g. #FF4A1C).
Leave it blank to use Thermal's default.
Where the rest of setup lives
Settings is the hub for everything account-level. From here, the other pieces of getting a company fully configured are:
- Set your pricing and business rules — Settings → This company → Invoicing defaults plus the Price Book catalog.
- Manage staff and roles — get your team into the system with the right access.
- Set up branches — for companies running more than one location.
- Inspection templates, Integrations, Payments, and Plan each have their own pages in the Settings list: what a PM visit checks, connecting QuickBooks, connecting Stripe so customers can pay you, and your plan and usage.
Reference
- Every configurable setting, its default value, and the optional modules a company can switch on — generated straight from the settings schema — is in Settings reference.
- Who can reach Settings — Owners and Office users; Dispatchers and Technicians can't. See Roles & permissions.